When you are at the junk yard don't forget to look under the Jeep CJ hoods. You might find a Weber carburetor.
Category Archives: 1975 BMW 2002
"Big Brake" Conversion
The big brake conversion may not mean what you think. Swapping 320i rotors and Girling calipers does not change the diameter of the front brakes, but actually changes the setup from unvented to vented disks. Since one of my stock calipers was seized I decided to do the swap. I had the calipers already and called Dave Varco at Aardvarc Racing to send me the hubs, rotors, bearings, and wheel studs.
The swap is very easy. Disassemble the stock setup.
Pack the new bearings and install the 320i hub.
Trim the dust shields for clearance and install the new calipers.
One of the problems with the swap is that the stock 13″ wheels no longer fit. That's actually a benefit though because my 15″ Rota RBs with Yokohama S-Drive tires look much better.
Rear Bumper Conversion
The Stock 75 bumpers are simply hideous. Luckily it is fairly easy to swap them out for the older style. This month I swapped the rear bumper with one from a 70-73. A very good explanation of the procedure can be found at BMW 2002 FAQ.
Basically you remove the old bumper…
Clean everything. Remove the caps protecting the old school bumper mount locations. Drill 1 inch access holes inside the trunk to install the bolts.
Install four bolts to hold the bracket and one on each side with a spacer to hold the ends to the quarter panels.
After I learn how to weld I will go back and fill the holes left behind.
Steering Install
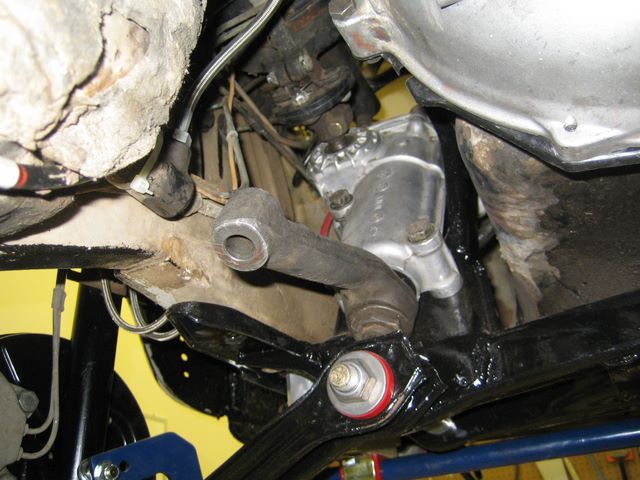
The steering box seems to work fine, so I filled it with Quaker State gear lubricant and reinstalled. The key to this install is to loosen the link on the steering shaft and slide it up towards the firewall. Mark it first so you know where to slide it back. Then bolt the steering box in and slide the link back into place and bolt it to the flex coupling.
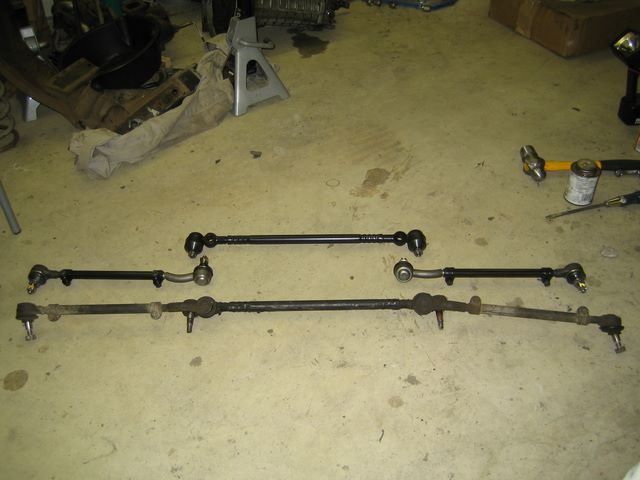
The last thing to go on are the new steerings links.
It's now officially back on the road.
Five Speed
I found a 320i 5 speed on Ebay a while back. Mike Hannigan sent me a shortened drive shaft. I then called Dave Varco for everything else. He sent me the trans mounts, a new 215 clutch, slave cylinder, and various other hardware.
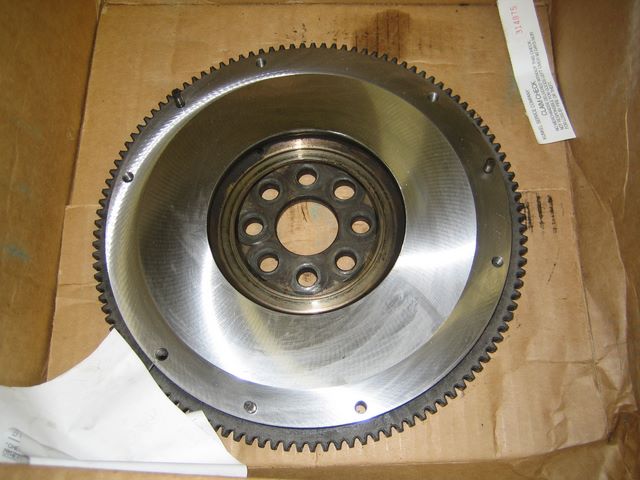
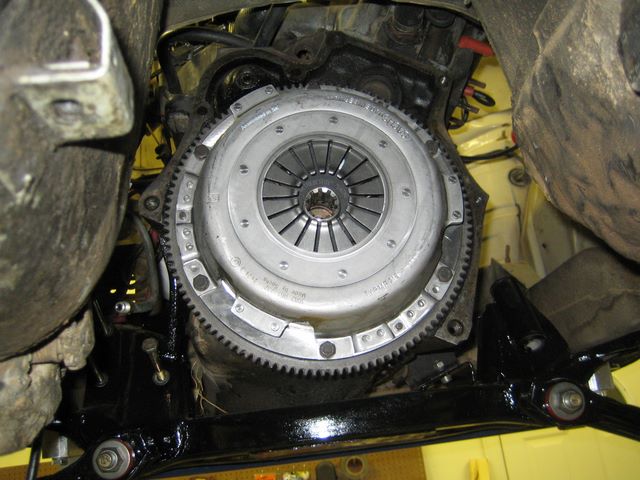
Kunkel's in Bel Air resurfaced the flywheel.
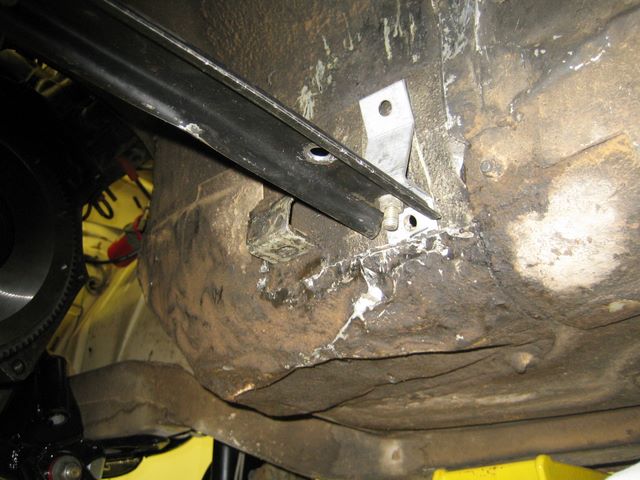
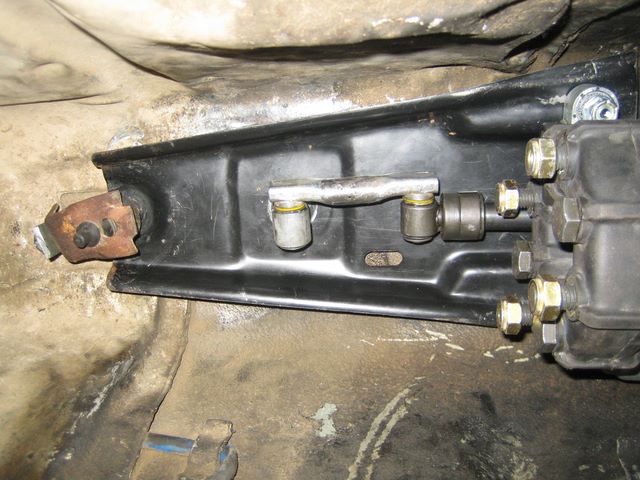
The new mounts from Dave bolt in a few inches behind the originals.
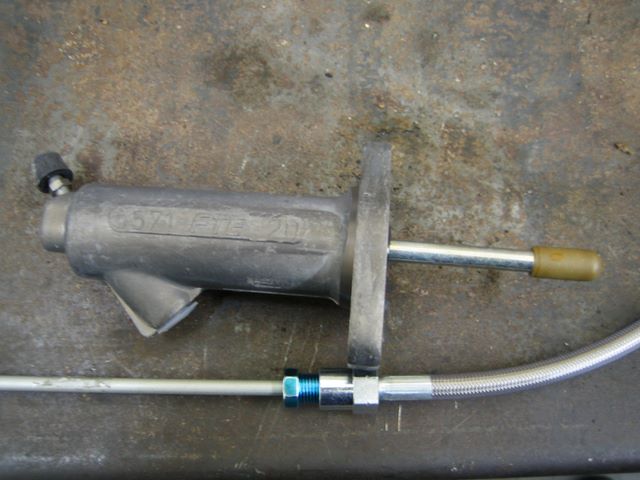
The slave cylinder was connected using an Ireland Engineering clutch line. Make sure you tighten the hard line before installing the trans. It's tough to get in there afterwards.
Connected the new clutch from Dave.
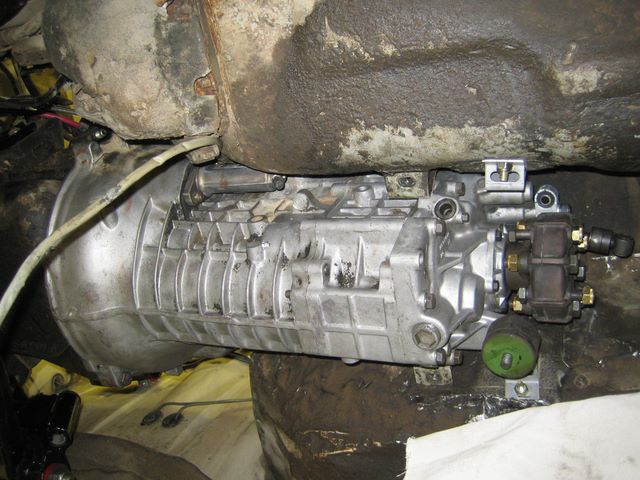
The trans fits nicely after a few well positioned hammer blows. I filled it with Amsoil ATF.
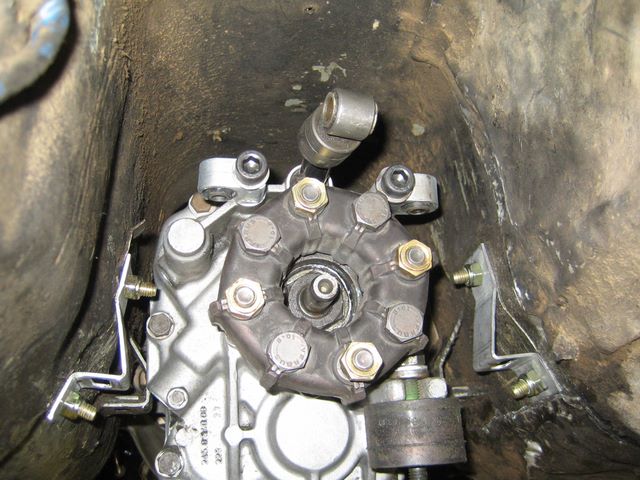
I am using a four bolt setup. Some people use the 3 bolt shaft from a 320i. Shouldn't really make a difference.
The shift tower is from a 320i. We cut off a few inches with a chop saw. A hammer flattened out the area where the new mount holes had to be drilled. We used the chop saw again to cut a few inches out of the shift linkage. Gavin then welded and ground it to perfection.
At that point the drive shaft and shifter can go in. It's almost ready to roll.
Front Suspension
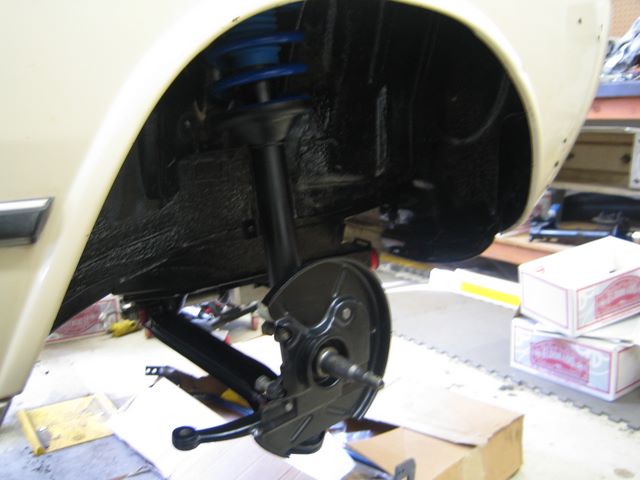
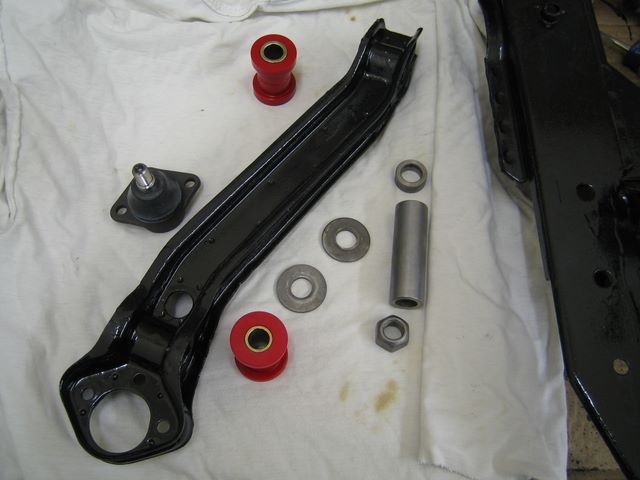
The front suspension is back together. There are a lot of new parts. As I said back in December, the front subframe and suspension arms were in bad shape. KC set me up with parts from a donor car.
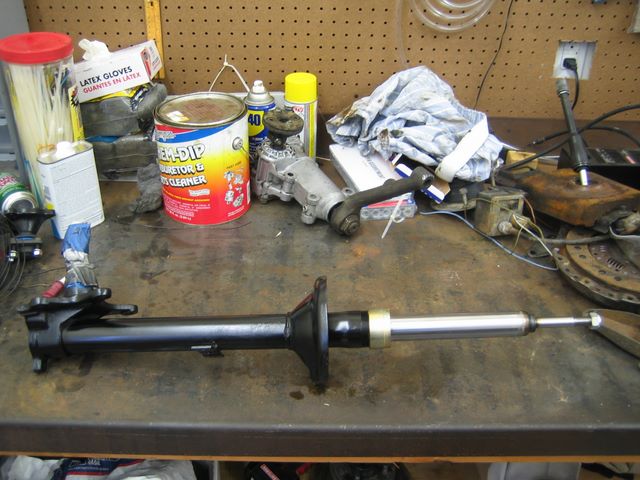
I then moved on to the struts. They've been cleaned up and painted with black rustoleum. A good trick I learned was to warm the cans in warm water in the sink. You get a better finish if the can is a little above room temperature. New Bilstein sports arrived from Ireland Engineering.
New ball joints were connected to powder coated steering arms. I also got a set of powder coated dust shields from KC. The springs are Ireland Stage II.
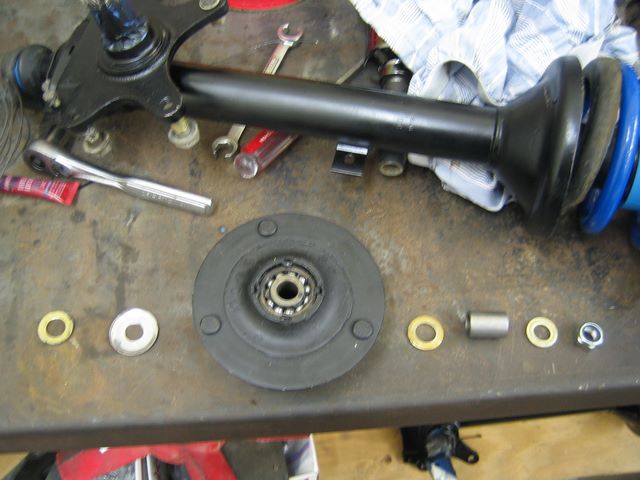
The strut mounts are new OEM parts.
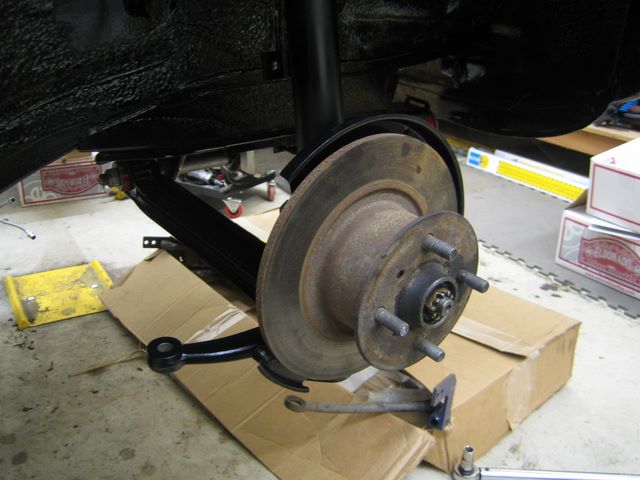
I put the stock rotors and brakes back on. I have a set of Volvo calipers, but that's a project for another day. Everything was tied together with an Ireland sway bar.
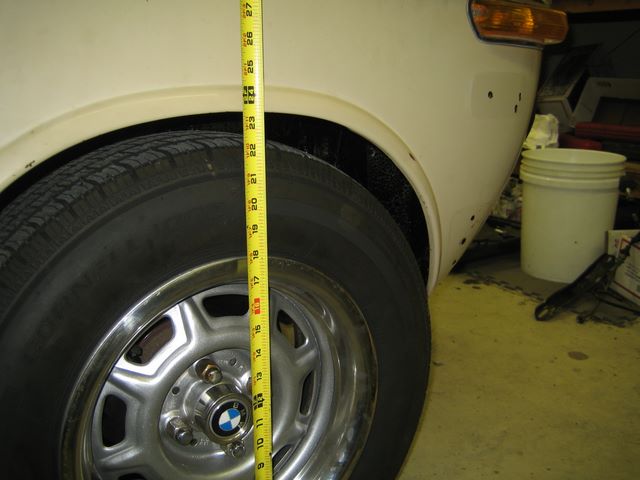
The ride height with the Stage II's and 185/13s is 23.5″ to the lip in the front…
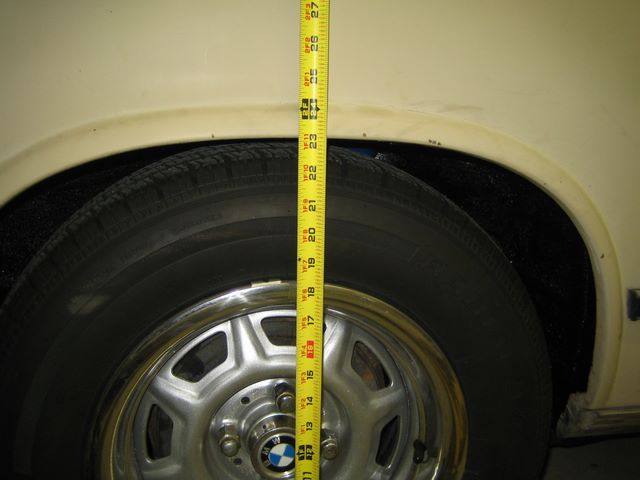
…and 23″ in the rear.
New Seats for the 2002
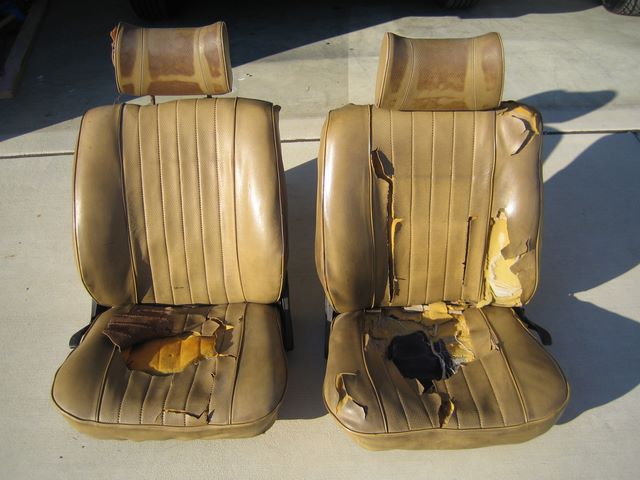
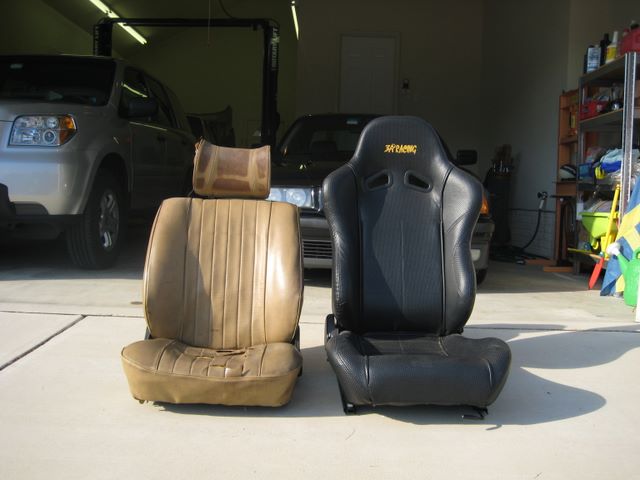
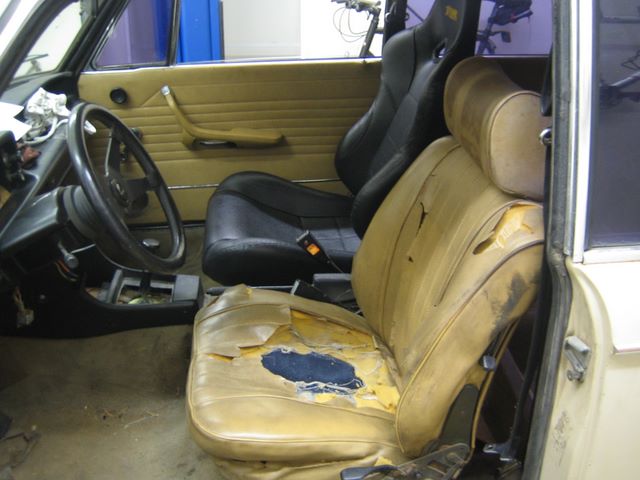
I am not putting a lot of effort into the interior of the 2002 yet, but the stock seats were simply unusable. Many miles and some years parked in the desert had pretty much destroyed them. They were uncomfortable, and probably a dusty, moldy health hazard.
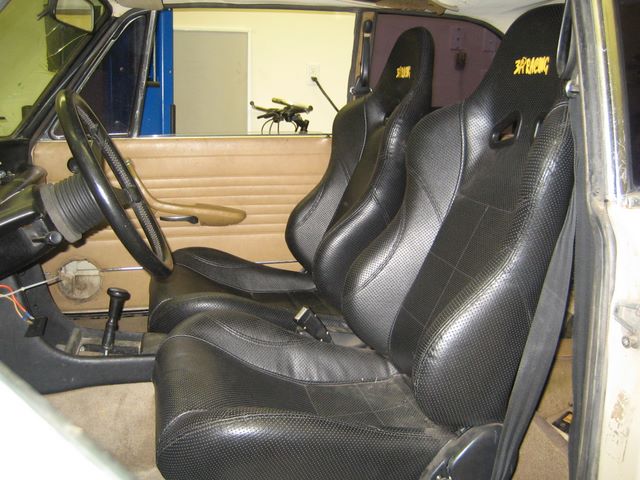
I picked up a set of used, but never installed, sport seats locally on ebay for about $100. These are made by 3A. They are basically the kind of thing you get from PepBoys for $250 or $300. They are pretty good looking and seem like a quality seat. They weigh about 35 lbs each which is the same as the stock seats, so I am not saving any weight. I would like to buy a more quality set of racing seats someday, but these should work fine.
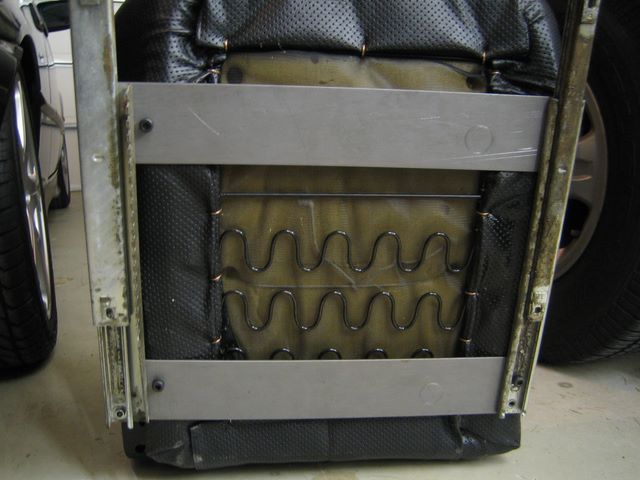
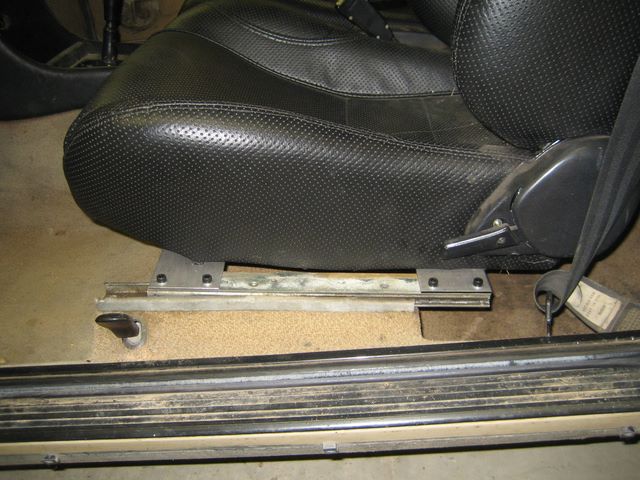
The seats came with rails. The mounting width of the seats is narrower than the stock rails, but only by about 1.5 inches. That means that they would not simply mount to the existing rails and that attempts to center them on some flat stock would interfere with the car's brackets. I decided to use the stock seat rails because they seem stronger than the aftermarket rails and because I like to use stock parts where I can. I obtained two 1/8″x3″x18.75″ pieces of steel for each side to run between each stock seat rail. I then offset the seats toward the center of the car so that the inner set of seat bolts go through the stock center rail and the steel plates. The outer seat bolts go through holes in the steel plate. The plate is then bolted to the stock seat rails on the outboard side. There is an FAQ that is very helpful at BMW2002FAQ.
The outboard side is visible. A scrap of carpet or something can cover that.
As you can see these seats definitely look better. They put the occupant at about the same height as the stock seats, but provide a lot more lateral support.
The project took me about six or seven hours spread over a few days. Most of that was measuring and drilling holes.
The seats seem comfortable. We'll see how they feel on a long trip with the new Stage II springs and Sport shocks.
Front Subframe Installation
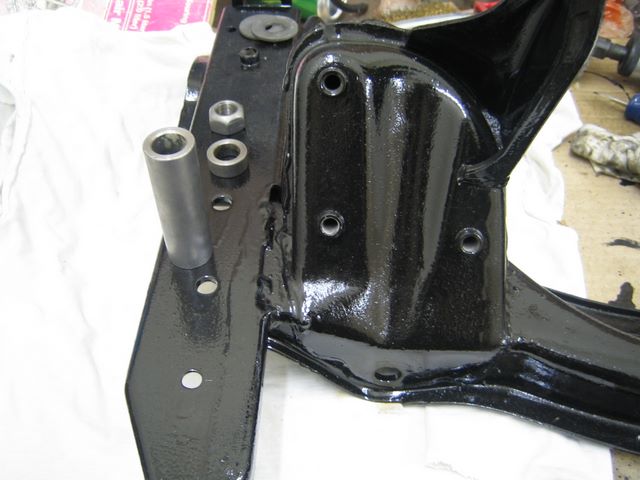
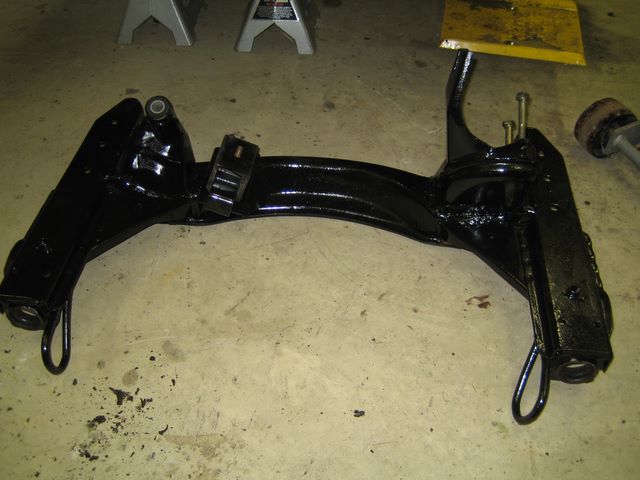
There is a lot of debate on the bmw2002faq.com about how to correctly use POR-15. My experience with this front subframe is that POR-15 sticks great to freshly sandblasted metal. We will see how it holds up as the years go by, but here's a picture of the finished product:
I am really happy with it. The hardware in the picture spent a night or so in a gallon can of parts cleaner that I got from Salvo Auto Parts.
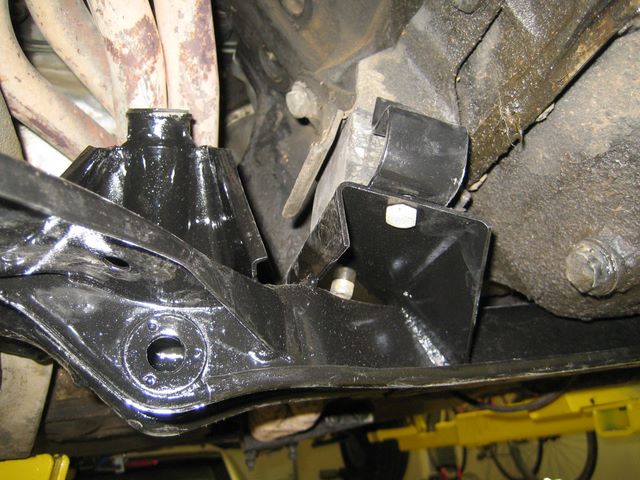
My passenger side motor mount seemed to be splitting apart so I bolted up the one that Casey gave me. Here is a picture of the whole assembly going back in. I will install the steering later. I need to mess with the transmission first.
Installation is the opposite of removal as they say. I supported the part under the car with a jack and scrap 2×4. I lined up the driver side motor mount first and then raised the jack until the passenger side mount slipped into place.
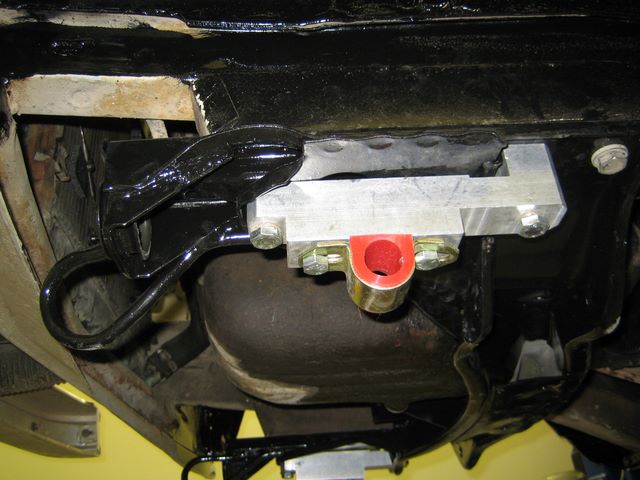
The new Ireland sway bar mounts come with longer bolts to compensate for the thickness of the aluminum blocks.
After torquing everything to the published specs I removed the cradle and straps that I used to support the engine during the swap.
Next up are the struts and suspension arms.
Front Subframe Removal
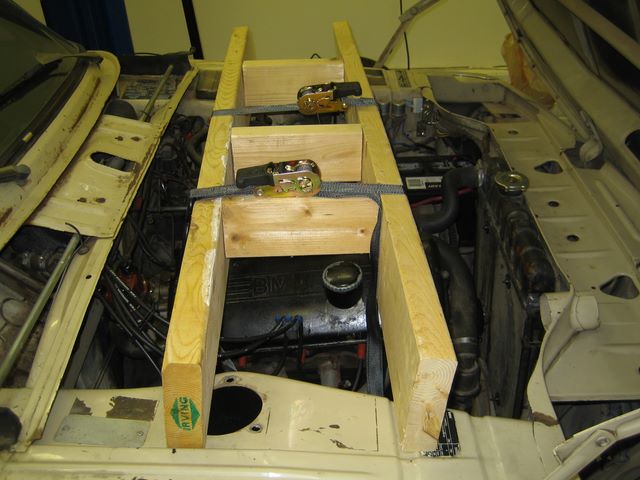
With the new front subframe painted and ready to go in, I needed to remove the old one. The problem is that the subframe supports the engine. I really did not want to pull the engine so I decided to support it from above. Using a scrap 2×6 and a pair of 500 lb tie down straps, I built a cradle. I am using the header and the intake as my support points. The rear of the engine is still supported by the transmission mount. [Disclaimer: I'm not sure that this is the smartest thing to do. So please do not consider this a how-to. If you know of a better method, please email me.]
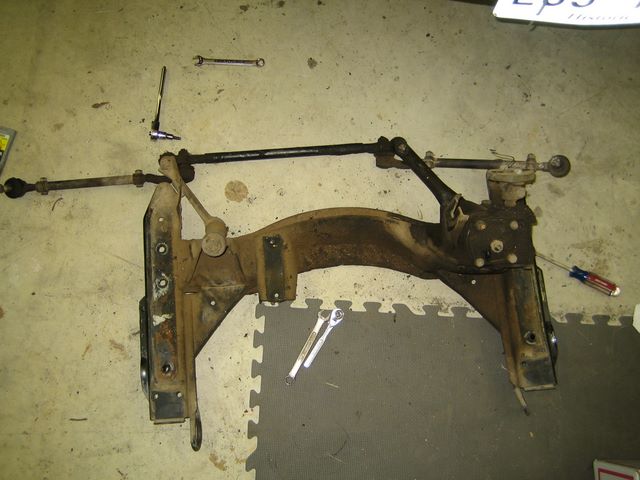
I then disconnected two of the bolts at the flexible steering coupling. I loosened the driver's side engine mount nut and removed the nut from the passenger side mount. I then supported the subframe with a jack, removed the six bolts, and carefully lowered it. Here is a picture of the old subframe. I need to degrease the steering box and swap it on to the new subframe.
In other news….I found a set of generic seats on eBay for next-to-nothing. I need to fabricate a set of mounts. They should be good enough for now. Maybe I will look for something nicer in a few years.
Front Subframe Sandblasting
So upon closer inspection of my front subframe, I discovered that it's bent. The front suspension arms are a little tweaked too. There must be a Hazzard County in Arizona I guess, because this car has some frequent flier miles. Luckily a call to local 2002 guy kcdonahue yielded a whole new subframe and arms. They weren't pretty though.
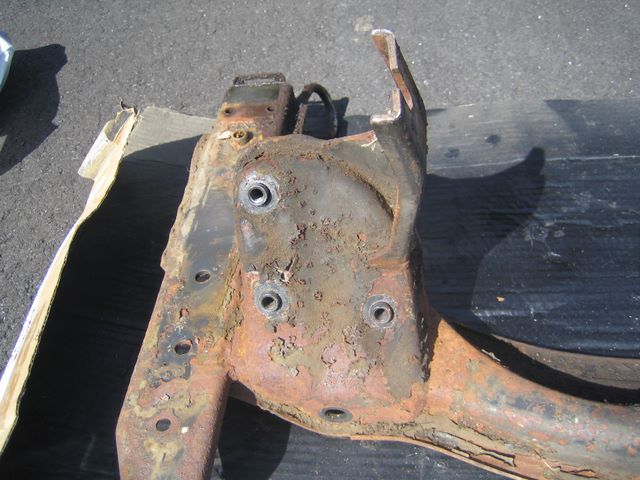
Now I have a beautiful but bent Arizona sub and a rusty but straight New England piece. At this point my boss told me about All Strip LLC in Edgewood, MD. They did a great job on the parts.
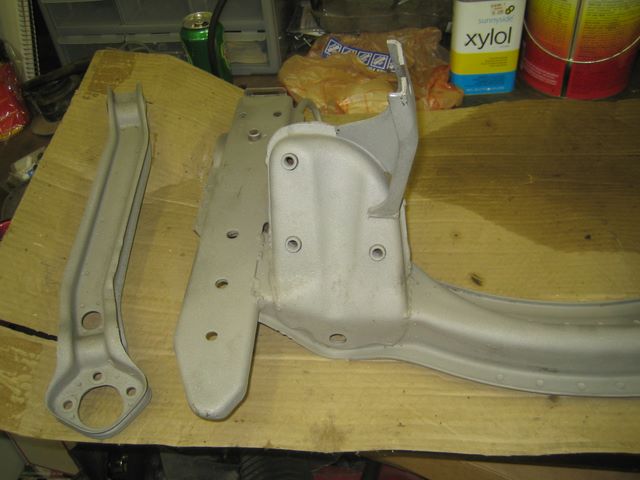
The black POR-15 is drying as I write this.


