Front Subframe Sandblasting

So upon closer inspection of my front subframe, I discovered that it's bent. The front suspension arms are a little tweaked too. There must be a Hazzard County in Arizona I guess, because this car has some frequent flier miles. Luckily a call to local 2002 guy kcdonahue yielded a whole new subframe and arms. They weren't pretty though.

Now I have a beautiful but bent Arizona sub and a rusty but straight New England piece. At this point my boss told me about All Strip LLC in Edgewood, MD. They did a great job on the parts.

The black POR-15 is drying as I write this.

New Rear Shocks and Springs

The undercoating in the rear wheel wells was chipping off in some spots. I scraped off all of the loose material with a scraper and then a wire wheel on the die grinder.

Most of the undercoating was still good.

I then used steel wool and paint thinner to prepare the surface for Herculiner truck bed liner. The stuff is like brownie mix. I used a disposable paint brush to put a heavy coat in the spots where the undercoating had chipped off. I then took a small roller and applied a coating to the entire wheel well.

While the bed liner was drying I got the new parts ready to go in. New Bilstein Sport shocks and Stage II springs were delivered from Ireland Engineering earlier this week. Notice the difference between the blue Ireland springs and the black BMW springs.

Here are the results. I can't wait to finish the front end and get this thing on the road.

Afterthought: The Herculiner did a great job of filling in where I was missing undercoating. I don't think I would recommend it though because of the texture. Since it is meant for truck beds it has a non stick texture. It's tough, but it'll mess up your knuckles if you're turning wrenches near it. I am using POR-15 for the front wheel wells.

Rear Subframe Rebuild

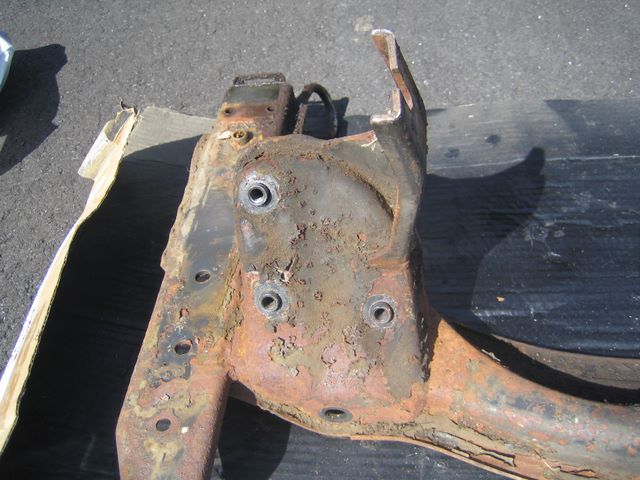
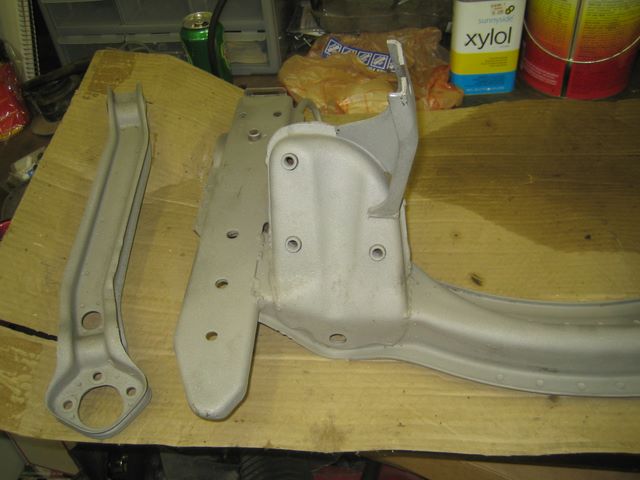
After many months of having only two wheels, the 2002 is now back on the ground. The rear subframe was removed as I discussed previously. All of the old bushings were pressed out. I cleaned, sandblasted and painted just about everything. I used Gloss Black Rust-Oleum.

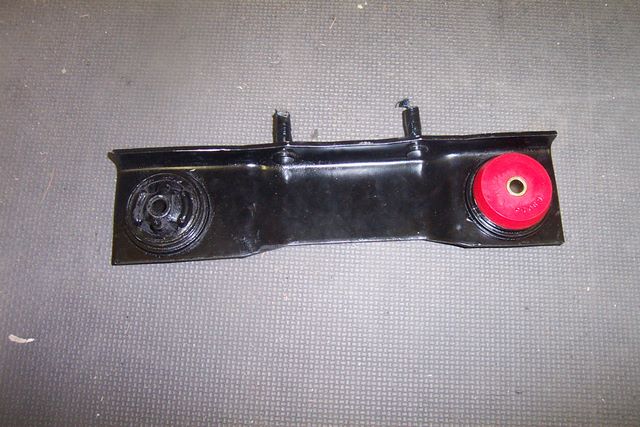
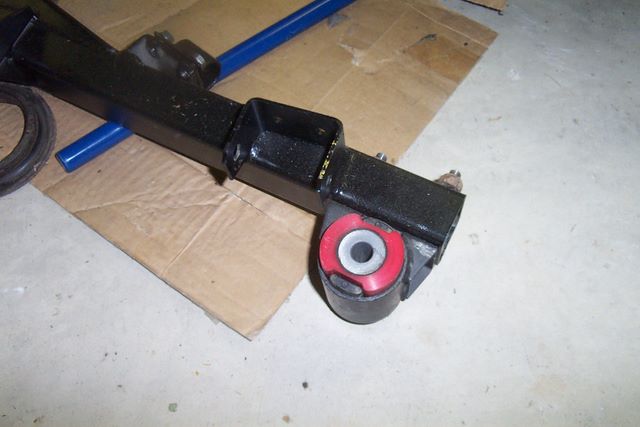
The rear diff mount has two bushings which I replaced with urethane parts from Ireland Engineering. I found it easiest to cut out the center of the old bushing and notch the outer ring with a hack saw blade. Then it was fairly easy to press it out. Use a lot of lube on the new bushings. The lip of the mount is very sharp and can easily cut up the urethane. We pressed the new ones in with our 20 ton press from Harbor Freight.

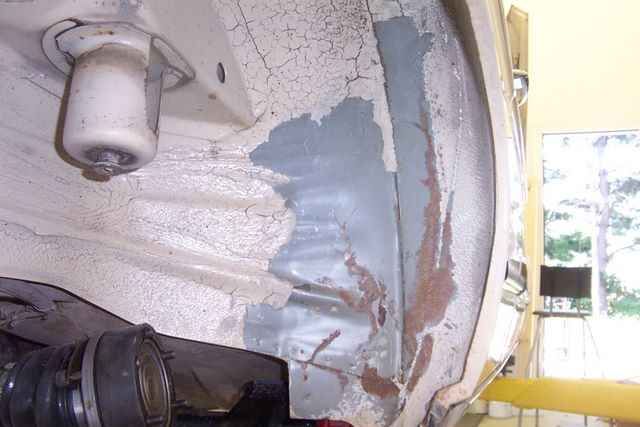
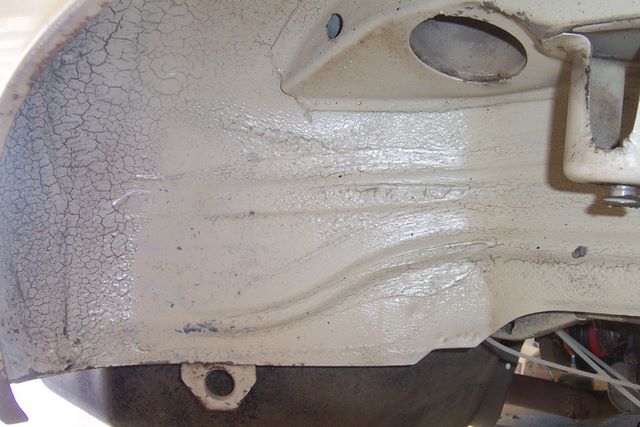
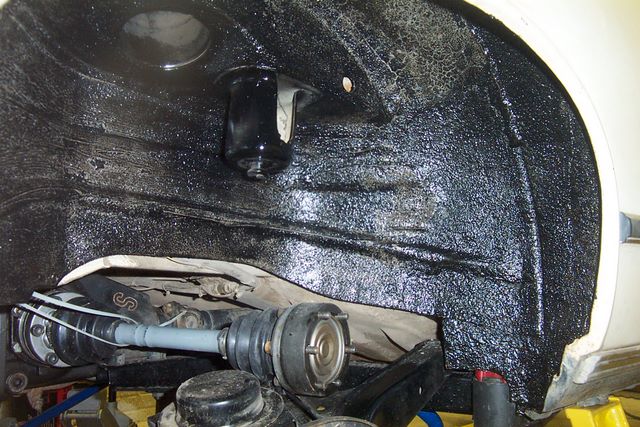
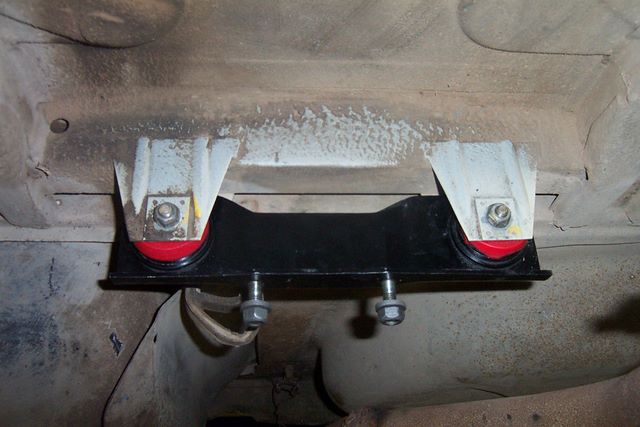
After scrubbing the underside of the body I reinstalled the mount.

The trailing arm bushings were fairly easy to press out, but it's a two man job because of the awkward shape on the arms. I pressed the bushings back in with a large C-clamp and plenty of bushing lube. I bottomed them out against the flange, but it made reattaching the arms rather difficult. It may be best to test fit the arms as you are getting close to bottoming out the bushings.

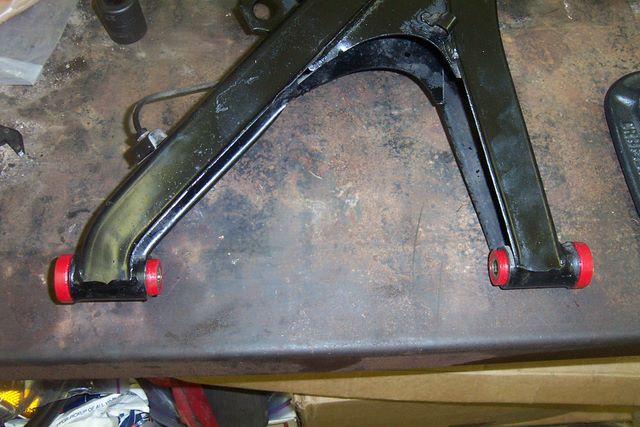
Because the bushings may have been pressed in too far, we had to bend the mounting brackets out a little in order to refit the arms. Everything moved freely after being torqued down.

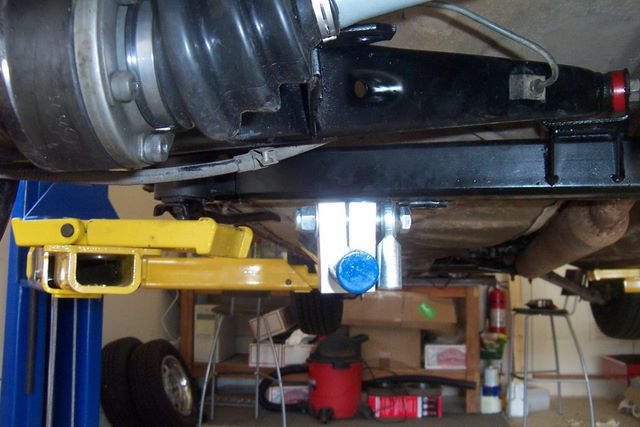
The new subframe mount from Ireland Engineering comes with a urethane insert. This is a simple bolt on part.

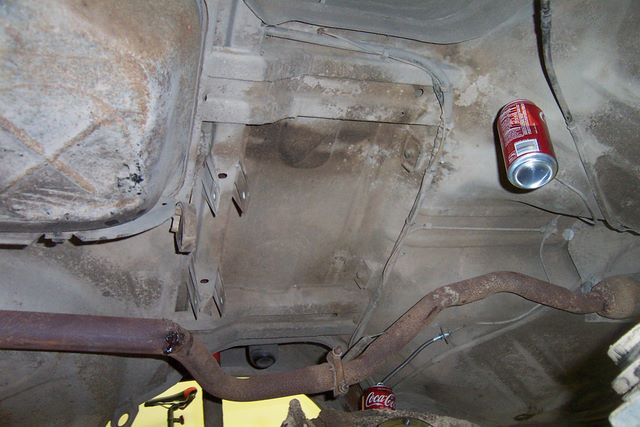
The new sway bar and urethane bushings are also from Ireland. This is a tricky install. The bushing clamps are held on by two self tapping screws on each side. The screws mate with a nut that is welded to the bracket. DO NOT use these screws to pull the bracket in towards the subframe. They will strip. I managed to strip one of mine. The word on the message board is to use a long bolt to draw the bracket in while also using a c-clamp or vice grips. I think in the end the way I fixed my stripped bolt may be the way to re-engineer the entire thing. I shaved off the welded on nut with a hack saw and file. I then used a regular bolt with a real nut to mount the bracket. I liked it so much that I may go back and shave off the other three and replace them as well.

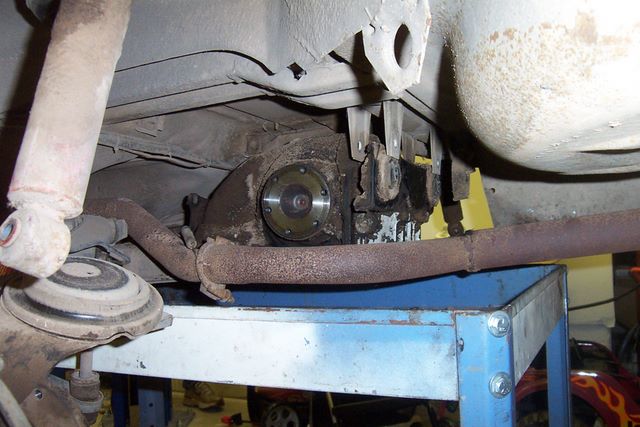
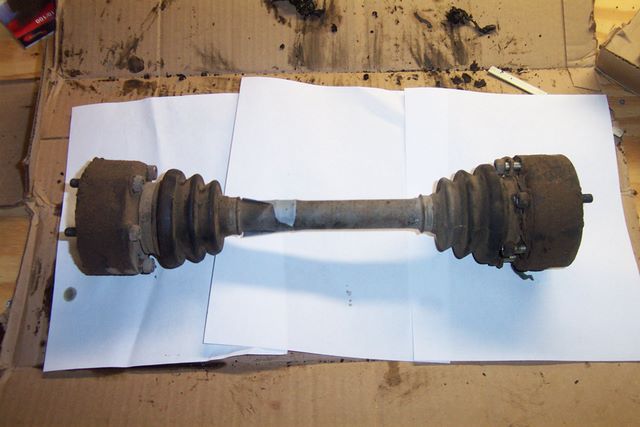
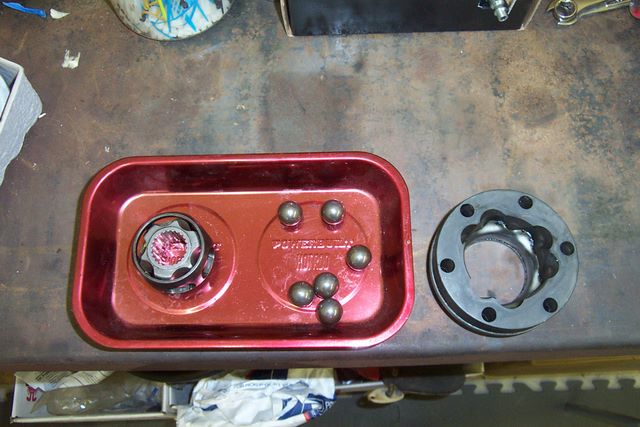
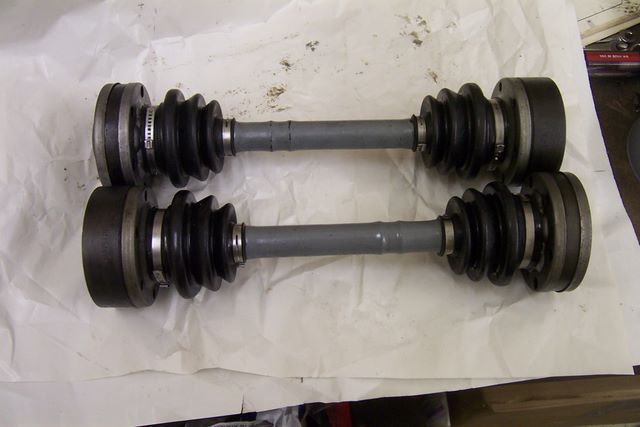
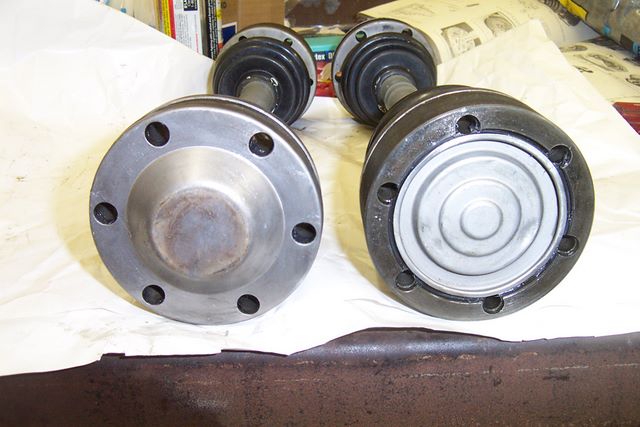
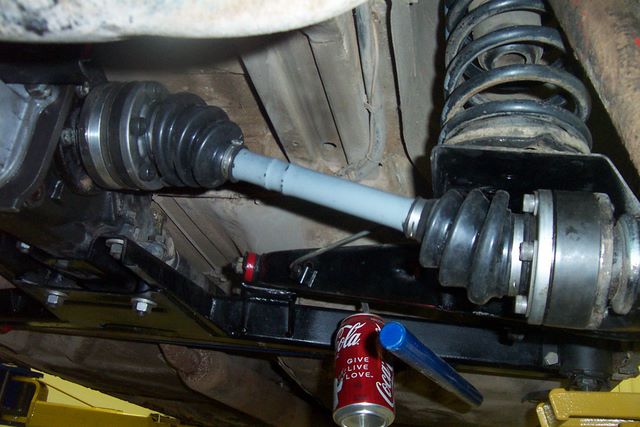
The "new" rear end is a 3.91 LSD from a 320i. It has a 2002 rear cover, but everything else is stock 320i. This method requires that you use a 320i CV joint on the inner end of each axle with a spacer which I got from Ireland Engineering. It also included the required bolts. I explained the axle rebuild a couple months ago.

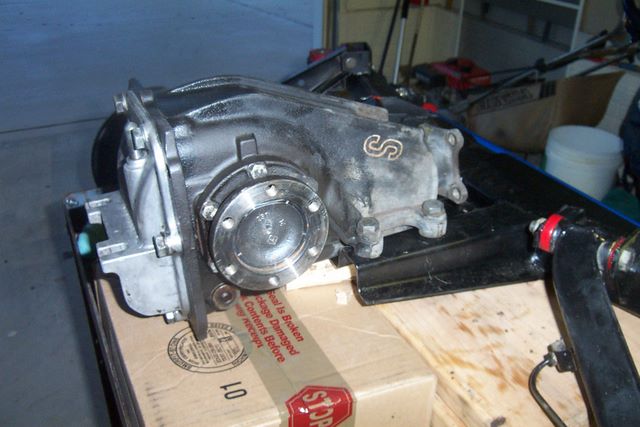
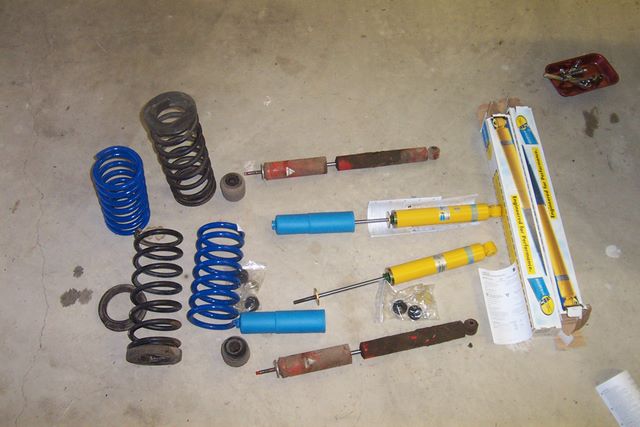
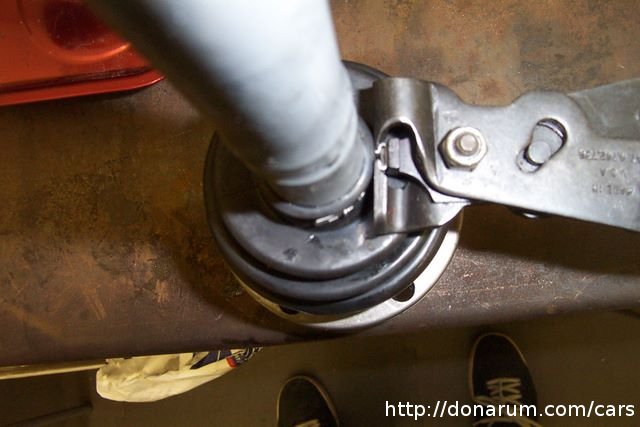
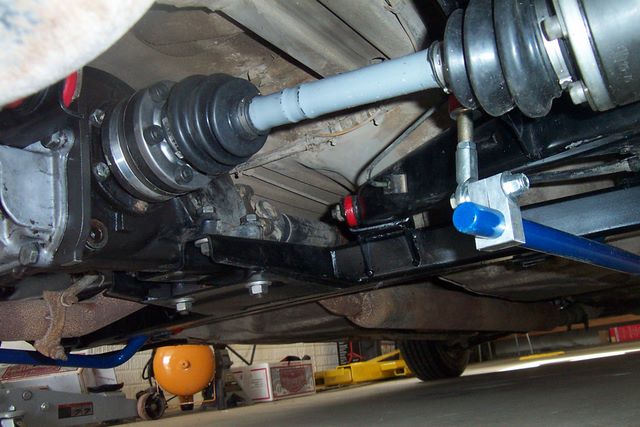
When you mount the rear to the subframe do not torque it down. It's mounted in slots in the subframe so that it can be adjusted forward and back. Toque the subframe mounts to the body first. Then install the drive shaft. The rear will find it's happy place based on the driveshaft and can then be torqued down. After the springs and shocks are reinstalled you can install the axles. I had to the use the existing shocks and springs since I haven't found the cash for the Ireland Stage IIs and Bilsteins that I plan to use.

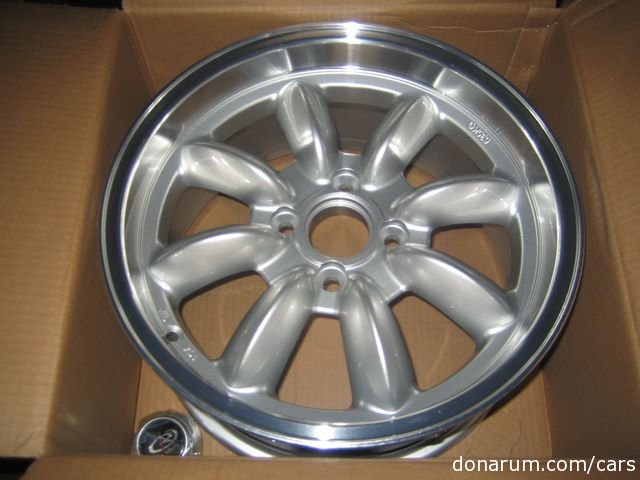
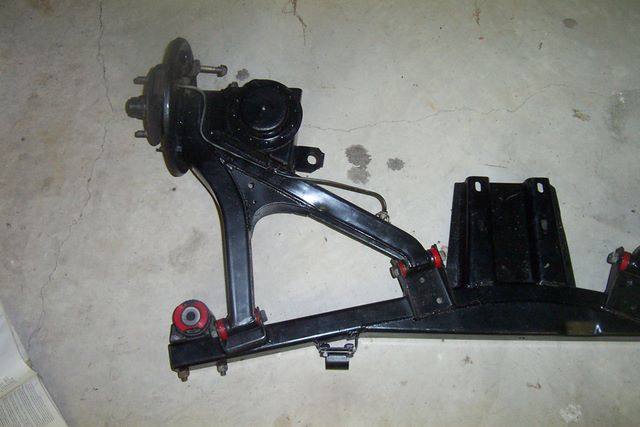
At this point the brakes can be reinstalled and the wheels can be remounted.

After that was done I slid the sway bar ends onto the bars. I used a wooden block, hammer, and bushing lube to install them without stripping off any more paint than I had to. I tightened them down at 40mm from the end of the bar. We'll have to adjust them as we drive the car. The suspension is hanging from the lift so DO NOT install the links at this point.

With the car back on the ground I bounced on the rear bumper a couple times to help is settle. Then I installed the sway bar links.

At the moment I am not sure how tight to make them. I am going to try to figure that out and then edit this to include those instructions.

All in all, the rear end looks great. We'll see how it reacts to the road soon.

Rear Subframe Removal

The first step in rebuilding the rear suspension is to drop the entire subframe. We already dropped the drive shaft, removed the axles, and disconnected the rear brakes. The next step was to disconnected the shocks and removed the springs. After lowering the car over a shop cart and supporting the rear assembly with scrap wood, we removed the rear mounting bolts and removed the front subframe mount nuts.

At that point we simply lifted the car off of its rear end.

The body looks great. No rust. I need to clean it up and coat it with pickup truck bed liner.

Next step: disassembly.

New Wheels

My custom made 15" Rota RB wheels arrived today. When you put 15s on a 2002 you usually need spacers or fender flares. Luckily I got in on a group buy of custom ordered 25mm offset wheels on bmw2002faq.com. These wheels should fit perfectly with no modifications. Plus they look like classic Panasports at half the price.

Rebuilding Axles

I guess axle rebuilds are one of those projects that build character. I feel great that I know how to do it now, but I hope I never have to do it again.

The axles and boots on this car looked great, but they had to be rebuilt. I have a new (used) 3.91 LSD from a 320i. In order to swap in this rear I needed to install 320i CV joints on the inboard ends of the axles. While I had them apart I figured I should clean everything up and replace all four boots.

The axles, and the whole rear of the car for that matter, were caked with mud. A scraper and some parts cleaner took care of that problem.

Here's a shot of the inner workings of the 320i CV joint.

To do this project you need two key tools. First, a press to remove and reinstall the CV joints. My brother and I have a 20 ton press from Harbor Freight that works great. Money well spent. The second tool I needed was a CV boot clamp crimper. Here's a shot of the one I borrowed from my brother.

I got the new boots from Bavarian Autosport (part# 33 21 1 207 036.) They came with the boots, clamps, grease, and a new C-clip for the end of the axle. I must've gone through a dozen pairs of medical gloves disassembling and repacking these joints.

Here is a shot of the final product. Notice the difference in the CVs. I also painted the axles, but found that it's almost impossible to reassemble these things without scratching the new paint.

Here's a closeup of the joints. The 320i on the left and the 2002 on the right.

I hope these things are right. I never want to take them apart again.

The next step is to rebuild the rear subframe and install the 3.91. Then I have to order a set of spacers from Ireland Engineering. The new rear is narrower than the original, so spacers are needed to make up the difference.

New Exhaust Hangers for the 325

I found that one of my stock exhaust mounts was broken. Since I have an M3 exhaust system, I ordered the heavy duty M3 hangers from Bavarian Auto. They are much more solid that the stock 325 units. Spraying the rusty bolts with "Blaster" the night before made the job easy.

Fixing the ground problems

This car had a lot of the typical electrical gremlins. The gauges jumped when the turn signal was on. Only a few of the marker lights wanted to work. I added a ground strap from the battery to the body, which helped a little. The thing that really did the trick though was to clean the fuse box with electric contact cleaner and clean or replace all of the fuses. After all of the fuses went back in everything worked.

e30 Alternator Upgrade

I have an electric fuel pump. I wanted to add an electric fan and someday I may put a radio in this car. I figured it was time to upgrade the alternator. I decided to follow Zenon's How-To.

I called up Terry Sayther Auto, and Rhett sent me the E30 alternator and required brackets.

The installation is really easy using the above mentioned instructions. The new bracket makes belt adjustments really easy.

While I had the radiator out I installed a 12" electric fan. The fan's adjustable thermostat fits nicely where the voltage regulator used to be.