After many months of having only two wheels, the 2002 is now back on the ground. The rear subframe was removed as I discussed previously. All of the old bushings were pressed out. I cleaned, sandblasted and painted just about everything. I used Gloss Black Rust-Oleum.
The rear diff mount has two bushings which I replaced with urethane parts from Ireland Engineering. I found it easiest to cut out the center of the old bushing and notch the outer ring with a hack saw blade. Then it was fairly easy to press it out. Use a lot of lube on the new bushings. The lip of the mount is very sharp and can easily cut up the urethane. We pressed the new ones in with our 20 ton press from Harbor Freight.
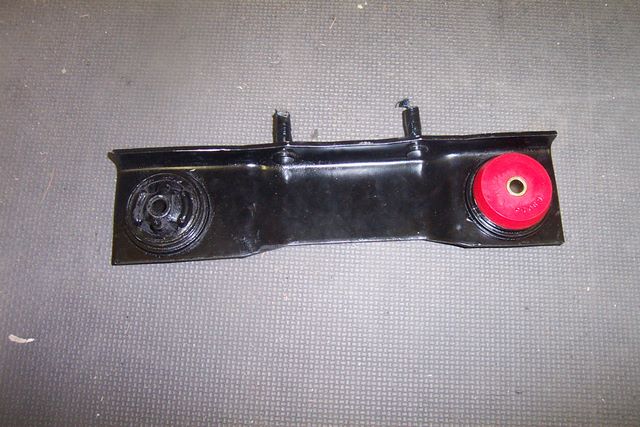
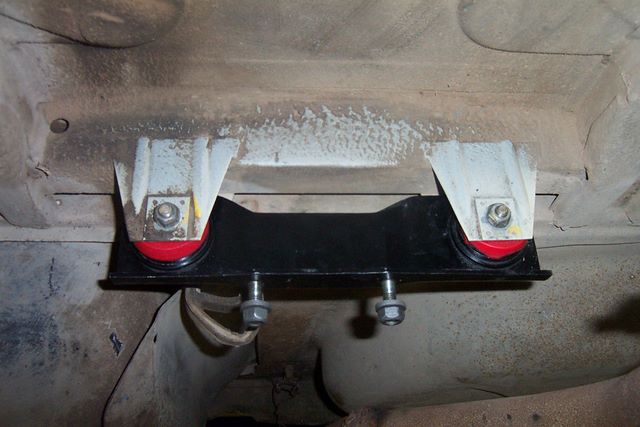
After scrubbing the underside of the body I reinstalled the mount.
The trailing arm bushings were fairly easy to press out, but it's a two man job because of the awkward shape on the arms. I pressed the bushings back in with a large C-clamp and plenty of bushing lube. I bottomed them out against the flange, but it made reattaching the arms rather difficult. It may be best to test fit the arms as you are getting close to bottoming out the bushings.
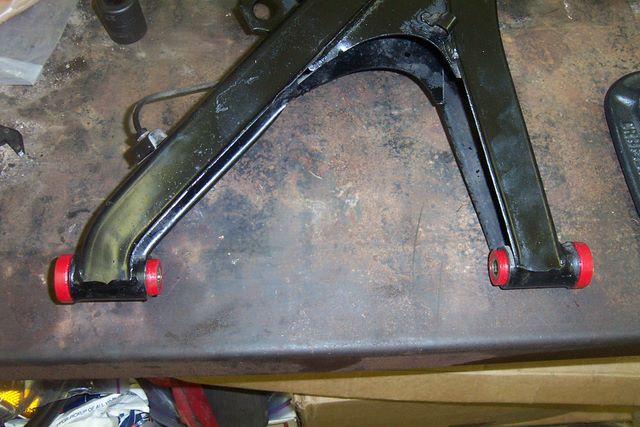
Because the bushings may have been pressed in too far, we had to bend the mounting brackets out a little in order to refit the arms. Everything moved freely after being torqued down.
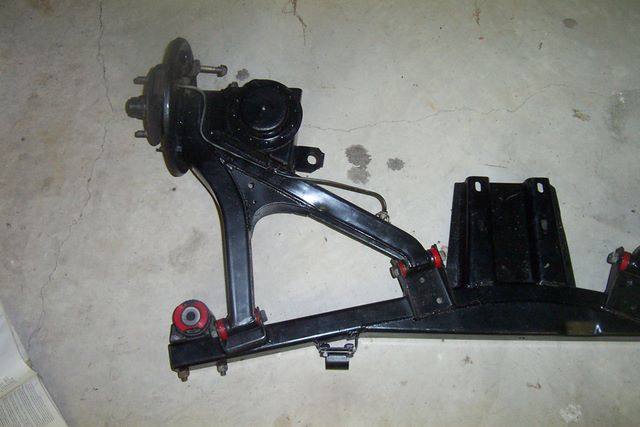
The new subframe mount from Ireland Engineering comes with a urethane insert. This is a simple bolt on part.
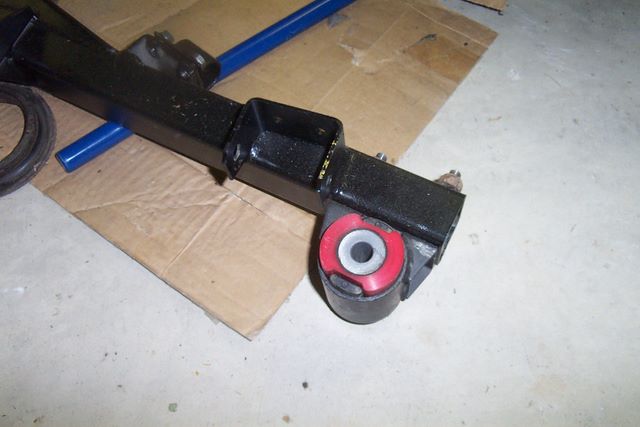
The new sway bar and urethane bushings are also from Ireland. This is a tricky install. The bushing clamps are held on by two self tapping screws on each side. The screws mate with a nut that is welded to the bracket. DO NOT use these screws to pull the bracket in towards the subframe. They will strip. I managed to strip one of mine. The word on the message board is to use a long bolt to draw the bracket in while also using a c-clamp or vice grips. I think in the end the way I fixed my stripped bolt may be the way to re-engineer the entire thing. I shaved off the welded on nut with a hack saw and file. I then used a regular bolt with a real nut to mount the bracket. I liked it so much that I may go back and shave off the other three and replace them as well.
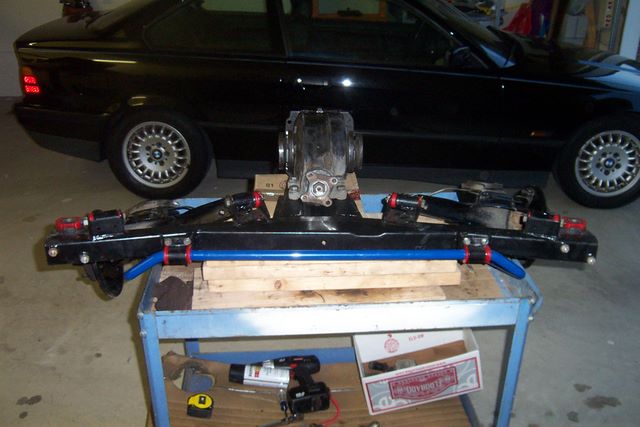
The "new" rear end is a 3.91 LSD from a 320i. It has a 2002 rear cover, but everything else is stock 320i. This method requires that you use a 320i CV joint on the inner end of each axle with a spacer which I got from Ireland Engineering. It also included the required bolts. I explained the axle rebuild a couple months ago.
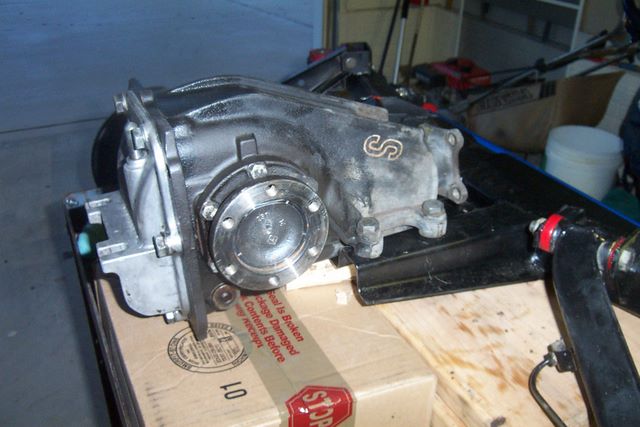
When you mount the rear to the subframe do not torque it down. It's mounted in slots in the subframe so that it can be adjusted forward and back. Toque the subframe mounts to the body first. Then install the drive shaft. The rear will find it's happy place based on the driveshaft and can then be torqued down. After the springs and shocks are reinstalled you can install the axles. I had to the use the existing shocks and springs since I haven't found the cash for the Ireland Stage IIs and Bilsteins that I plan to use.
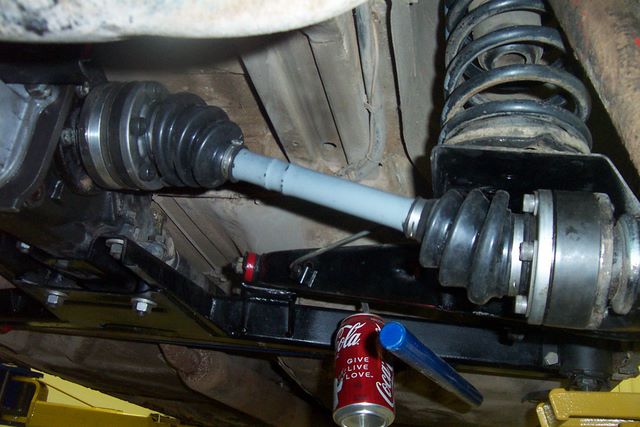
At this point the brakes can be reinstalled and the wheels can be remounted.
After that was done I slid the sway bar ends onto the bars. I used a wooden block, hammer, and bushing lube to install them without stripping off any more paint than I had to. I tightened them down at 40mm from the end of the bar. We'll have to adjust them as we drive the car. The suspension is hanging from the lift so DO NOT install the links at this point.
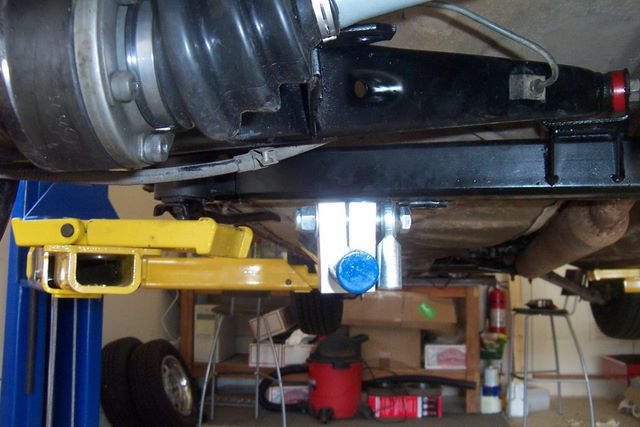
With the car back on the ground I bounced on the rear bumper a couple times to help is settle. Then I installed the sway bar links.
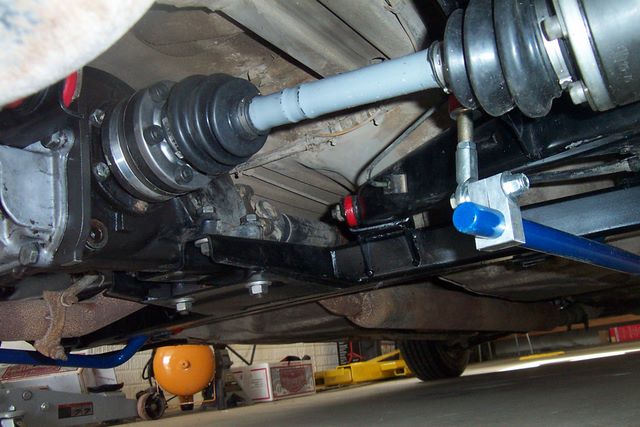
At the moment I am not sure how tight to make them. I am going to try to figure that out and then edit this to include those instructions.
All in all, the rear end looks great. We'll see how it reacts to the road soon.